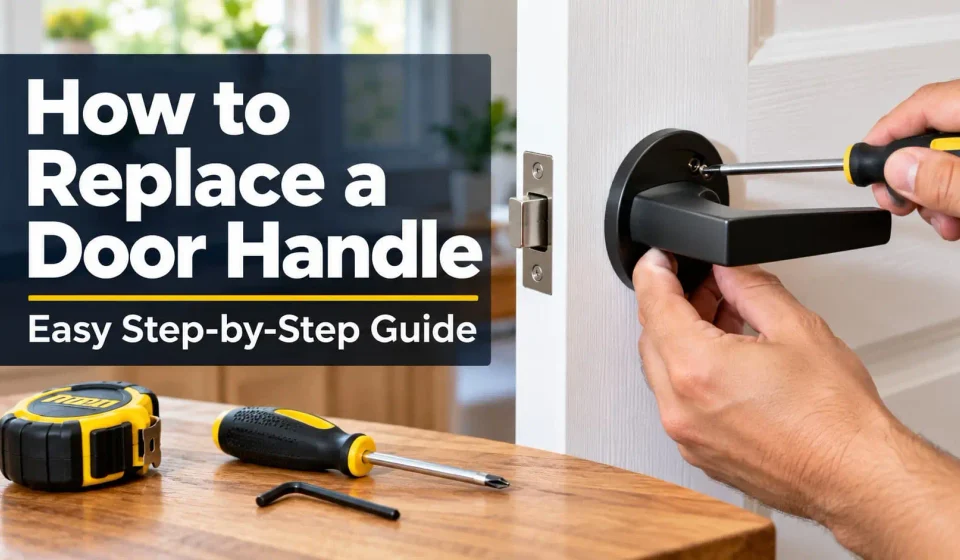

A loose door handle is one of those small problems that quietly drives you crazy. It wobbles every time you open the door. The latch sticks. Maybe the finish has peeled off, or the handle just came off in your hand last Tuesday. Whatever the reason, you’re probably thinking about calling someone to fix it.
You don’t need to. Learning how to replace a door handle is one of the easiest DIY jobs around the house. You need a screwdriver, a new handle, and about 15 to 30 minutes. No special skills, no fancy tools.
In this guide, I’ll walk you through the whole thing: how to pick the right handle, how to measure, how to remove the old one (even when you can’t see any screws), and how to install the new one without messing up the latch. I’ll also cover the mistakes most people make so you can skip them.
When Should You Replace a Door Handle?
Not every annoying handle needs replacing. Sometimes a quick tighten does the job. But there are clear signs that it’s time for a new one.
It’s loose and won’t stay tight. If you’ve tightened the screws twice and the handle is wobbly again within a week, the internal parts are probably worn out. Stripped screw holes cause this too.
The latch sticks or doesn’t spring back. You turn the handle, and the latch stays halfway out. That’s a worn spring or a damaged latch mechanism, and a repair usually costs more effort than a replacement.
It’s broken or rusted. Cracked levers, snapped knobs, and rusty bathroom handles are better off in the bin.
You want a different look. Honestly, this is a perfectly good reason. Swapping old brass knobs for matte black levers can change how a whole room feels, and it costs very little.
You’re upgrading security. If your front door has a cheap lock, a proper door lock replacement makes sense.
A simple rule: if tightening a screw or adding a drop of lubricant fixes it, do that. If the problem comes back, replace the handle.
Types of Door Handles You Should Know
Before you buy anything, it helps to know what you’re actually replacing. Walk into a hardware store without this knowledge and you’ll be staring at forty boxes that all look the same.
Passage handles have no lock. They’re used for hallways, closets, and living rooms. You turn them, the door opens, that’s it.
Privacy handles have a small lock button or turn piece on the inside. These go on bedrooms and bathrooms. You can lock them from inside, and there’s usually a tiny emergency hole outside to open them with a pin.
Dummy handles don’t turn at all. They’re just for pulling or pushing a door, often used on closets with double doors.
Entry or keyed handles have a key cylinder. These are for your front door, back door, or any room you need to lock from outside.
Then there’s the shape. Door knobs are round and need a good grip and wrist twist. Lever handles are the ones you push down, and they’re easier to use, especially for kids, older people, or when your hands are full of groceries. Many people choose levers for this reason alone.
The easiest way to figure out your type is to look at your current handle. Does it have a key hole? A lock button? Nothing at all? That tells you what to buy.
Tools and Materials You’ll Need
Good news: the list is short. Most of it is probably already in your toolbox.
- A Phillips screwdriver (and sometimes a flathead)
- A small Allen key or hex key, in case your handle uses a grub screw
- A tape measure
- A pencil
- Your new door handle kit
- A chisel (only if the new latch plate is bigger than the old one)
- A drill (optional, only if you’re changing the hole size)
One small tip: put a small cup or bowl next to you while you work. Door handle screws are tiny, and they love rolling under furniture.
How to Measure Before Buying a New Handle
This is the step people skip, and it’s the reason a lot of handles get returned. Spend five minutes here and the rest is smooth.
Door thickness. Most interior doors are about 1⅜ inches (35 mm) thick. Exterior doors are usually 1¾ inches (44 mm). Measure the edge of your door to confirm. Most handle sets fit standard thickness, but older homes can surprise you.
Backset. This is the distance from the edge of the door to the center of the big hole where the handle sits. Two sizes are standard: 2⅜ inches (60 mm) and 2¾ inches (70 mm). Put your tape measure on the edge and measure to the middle of the hole. That’s it.
Bore hole size. This is the large round hole in the face of the door. The common size is 2⅛ inches (54 mm). If your new handle fits this, you won’t have to drill anything.
Edge hole. The smaller hole on the door’s edge, where the latch sits, is usually 1 inch (25 mm).
Latch type. Some latches are the spring type with a round faceplate that you just push in. Others are drop-in latches with a square plate that sits in a cut-out (a mortise). If you switch between the two, you’ll need a chisel.
My honest advice: take the old handle with you to the store. Holding it next to the new one saves you a lot of guessing. And take a quick photo of the door edge on your phone too.
Step-by-Step: How to Replace a Door Handle
Alright, here’s the main part. I’ll assume you’re replacing a standard interior door handle. Front door versions are similar, and I’ll cover those in a minute.
Step 1: Find and remove the visible screws
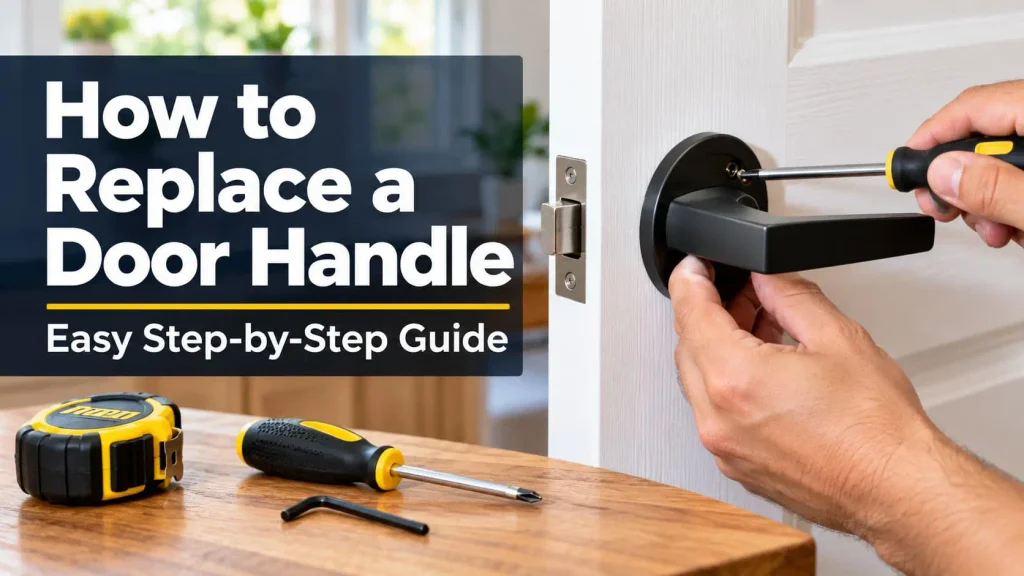
Look at the base of the handle on the inside of the door. You’ll usually see two screws on a round plate. Unscrew them with your Phillips screwdriver. Keep a hand on the handle while you do this so it doesn’t fall and scratch the door.
Step 2: Take off both handles
Once the screws are out, pull the handle on one side straight off. Then pull off the other side. You’ll see a square metal rod (called the spindle) sticking out of one handle. Slide it out too.
Step 3: Remove the latch
Now look at the edge of the door. The latch is the part that sticks out and clicks into the frame. It’s held in place by two small screws on its faceplate. Remove them and pull the latch out. If it’s stuck, wiggle it gently with pliers.
Step 4: Check the strike plate
The strike plate is the small metal plate on the door frame where the latch lands. While the old handle is off, look at it. Is it bent? Is it scratched? If it’s damaged or doesn’t match your new latch, replace it now. A strike plate replacement takes about five minutes and saves you from a door that won’t close properly later.
Step 5: Install the new latch
Slide the new latch into the edge hole. Here’s the one thing you can’t get wrong: the curved, sloped side of the latch must face the direction the door closes. If it faces backward, the door will hit the frame and won’t click shut.
Push the latch in until the faceplate sits flat against the door. Screw it in place. If the plate sticks out a little, mark the outline with a pencil and chisel a shallow recess so it sits flush.
Step 6: Fit the handles
Take the first handle (the one with the spindle) and push it through the latch from one side. The spindle goes through the middle of the latch. Then place the second handle on the opposite side, lining up the screw holes.
Some handles have a mounting plate that screws on first, and the handle clips on top. Check your instruction sheet for this, since brands differ a bit.
Step 7: Tighten the screws and test it
Put the screws in and tighten them by hand until snug. Don’t crank them as hard as you can. Turn the handle a few times. Does it spring back smoothly? Does the latch pull in and out? If yes, great.
Step 8: Test it with the door closed
Shut the door and see if the latch lines up with the strike plate. It should click without you having to push or lift the door. If it’s a little off, loosen the strike plate screws, shift it slightly, and tighten again. Sometimes you need to file the hole a little. Test a few times until the door closes quietly.
That’s the whole process. Most people finish in under half an hour on their first try.
How to Remove a Door Handle With No Visible Screws
This is where a lot of people get stuck. You look at the handle and there are no screws anywhere. Don’t worry. The screws are hidden, not missing.
Look for a cover plate. Many modern handles have a round cover (called a rose) that hides the screws. Look for a tiny slot or notch along its edge. Slide a flathead screwdriver in gently and pop or twist the cover off. It usually comes away with a little effort.
Check for a grub screw. Look at the neck of the handle, right where it meets the door. You may find a tiny hole. That’s where a set screw, also called a grub screw, lives. Use your Allen key to loosen it a few turns, and the handle should slide off.
Try the detent pin method. Some knobs have a small pin or button on the neck. Push it in with a thin screwdriver or paperclip while pulling the knob off.
Once the handle is off, you’ll find the screws underneath. From there, continue with Step 2 above.
If nothing seems to work, look up your handle’s brand and model online. A quick search usually shows exactly where the hidden fastener is.
Replacing Special Cases
Not every handle swap is the same. Here are a few situations you might run into.
Interior vs front door handle. An interior one is simple, as we saw above. A front door handle often comes with a deadbolt or a keyed cylinder, and the screws go through the door from the inside. The process is the same, but the parts are heavier. Take a photo before you take things apart so you remember where each piece goes.
Handle with a lock. If you’re fitting a bedroom or bathroom privacy handle, test the lock button before you close the door behind you. Nobody wants to be locked out of their own bedroom on day one.
A stuck handle. Often the problem isn’t the handle itself. The latch may be jammed, or the door is dragging on its hinges. A little graphite powder or a drop of light oil in the latch can free it up. If it doesn’t, replace the latch mechanism.
A broken handle. If a knob has snapped off and you can’t reach the screws, you may need to remove the whole latch from the edge of the door and push the spindle out from the other side. Use pliers if you have to.
A loose handle. Tighten the screws first. If the holes are stripped, stuff a few toothpicks with wood glue into the hole, let it dry, and drive the screw back in. If it’s still loose, the handle itself is worn.
Replacing without removing the door. Good news: you almost never need to take the door off its hinges. All the work happens on the handle and latch, so the door can stay right where it is.
Common Mistakes to Avoid
I’ve seen all of these happen, and they’re all easy to avoid.
Buying the wrong backset. If you buy 70 mm and your door needs 60 mm, the handle won’t line up. Measure first, buy second.
Installing the latch backward. The slanted side has to face the closing direction. If your door won’t close, check this first.
Overtightening the screws. It feels like a good idea, but it can make the handle stiff or crack the plate. Snug is enough.
Ignoring the strike plate. People swap the handle, then wonder why the door rattles or doesn’t latch. Always check the plate.
Forgetting to keep the old parts until you’re done. If something doesn’t fit, you may want the old latch or screws for reference. Keep everything until the new handle works.
How Much Does It Cost? DIY vs Locksmith
Here’s a rough idea. Prices vary by country and brand, so treat these as ballpark figures.
A basic interior door handle set costs around $10 to $30. Nicer ones, with better finishes, run from $30 to $60. Entry-level front door handle sets with a lock typically cost $40 to $120, and smart or high-security options can go well beyond that.
If you hire someone, a handyman or locksmith usually charges between $75 and $200 for the job, plus the handle. Most of that is labor and a call-out fee for a task you can do yourself in half an hour.
When is it worth calling a professional? If your door frame is damaged, if the hole needs to be recut, if you’re installing a high-security lock, or if you simply don’t have the time. For everything else, DIY door handle replacement is easy and saves real money.
Maintenance Tips to Make Your Handle Last
A little care goes a long way, and none of it takes much effort.
- Put a drop of light machine oil or graphite lubricant on the latch and hinges once or twice a year.
- Check the screws every few months and tighten them if they’ve loosened. Doors get used a lot, so this happens.
- Wipe the handle with a soft damp cloth. Skip harsh cleaners, especially on brass or painted finishes, since they can eat the coating.
- Don’t hang bags or heavy things on the handle. It’s a handle, not a hook.
FAQs
How long does it take to replace a door handle?
Most people finish in 15 to 30 minutes. If it’s your first time, give yourself closer to an hour so you don’t feel rushed.
Can I replace a door handle myself?
Yes. It’s one of the simplest home repair jobs. If you can use a screwdriver, you can do it.
Do I need to remove the door to change the handle?
No. You can swap the handle with the door hanging on its hinges. Removing it just makes things harder.
How do I know what size door handle I need?
Measure three things: the door thickness, the backset (60 mm or 70 mm), and the bore hole diameter. Bring the old handle to the shop if you can.
Why is my new door handle not working?
The most common causes are a latch installed backward, a bent spindle, a misaligned strike plate, or screws that are too tight. Check those four things in that order.
Conclusion
Replacing a door handle looks more complicated than it really is. Once you know your measurements, buy the right type, and take the old one apart carefully, the rest is just a few screws and a quick test. You’ll save money, fix an annoying problem, and probably feel pretty good about doing it yourself.
Take your time with the measuring, keep an eye on that latch direction, and don’t forget the strike plate. Do those three things and your new handle will work smoothly for years.
Did you run into a handle that wouldn’t come off, or have a tip of your own? Drop it in the comments, and share this guide with someone who has a wobbly handle at home. For more simple home fix guides, keep following KN Crowder.